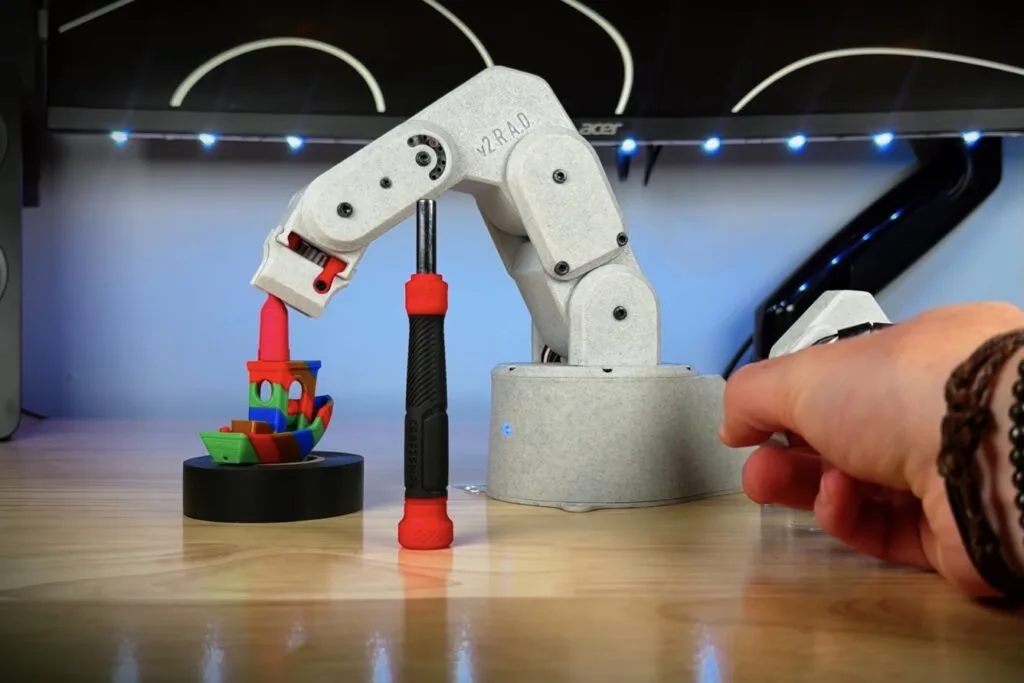
Robotic arms offer tremendous flexibility in what they can accomplish, yet this same versatility introduces significant challenges when it comes to programming and operation. Several years back, Kelton Serra, who runs the Build Some Stuff YouTube channel, tackled this problem by equipping his custom robotic arm with a puppet-style control system. He has now returned with an enhanced iteration of that arm, featuring numerous refinements and improvements.
Puppet control is becoming increasingly popular due to its intuitive nature. Rather than requiring traditional programming or conventional controller inputs, puppet control employs a specialized input mechanism that physically replicates the robot's movements. When you move a joint on the control device, the robot responds with an identical motion.
Serra's original robotic arm employed this control method through a miniaturized replica of the arm fitted with potentiometers in place of motors. The redesigned version maintains this approach. Drawing on years of accumulated experience, Serra overhauled the arm's design to reduce costs, simplify construction, and enhance overall performance.
An Arduino Nano ESP32 board serves as the robotic arm's control system. This board reads input signals from the potentiometers and then commands servo motors on the arm to replicate those movements. Each potentiometer's analog voltage output translates directly to a specific joint angle. A servo driver board manages communication between the Arduino and the servos.
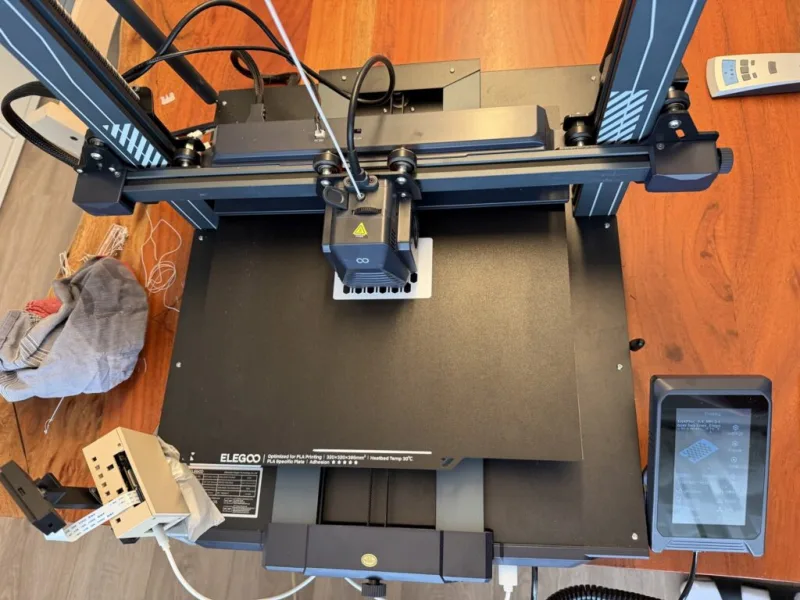
Serra devoted considerable effort to mechanical engineering and computer-aided design. He prioritized making every component suitable for 3D printing and ensuring the assembly process remained straightforward. The redesign also included mechanical enhancements, such as incorporating a belt drive system for the wrist joint and a rack-and-pinion mechanism for the gripper.
The design represents an accessible project that makers can build independently using a 3D printer and an affordable collection of components. Those interested in constructing their own can visit the Printables page to download the necessary files.
Source: Arduino Blog